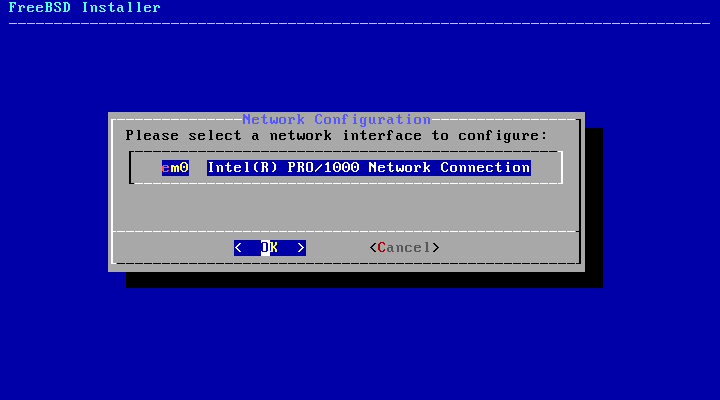
Next, a list of the network interfaces found on the computer is shown. Select the interface to configure.
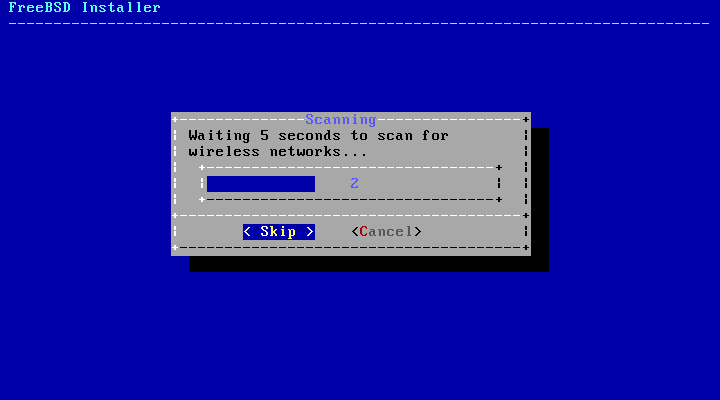
If an Ethernet interface is selected, the installer will skip ahead to the menu shown in Figure 2.53, “Choose IPv4 Networking”. If a wireless network interface is chosen, the system will instead scan for wireless access points:
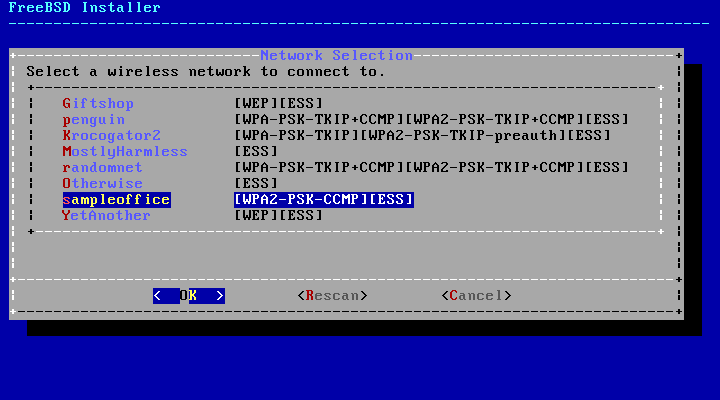
Wireless networks are identified by a Service Set Identifier (SSID), a short, unique name given to each network. SSIDs found during the scan are listed, followed by a description of the encryption types available for that network. If the desired SSID does not appear in the list, select to scan again. If the desired network still does not appear, check for problems with antenna connections or try moving the computer closer to the access point. Rescan after each change is made.
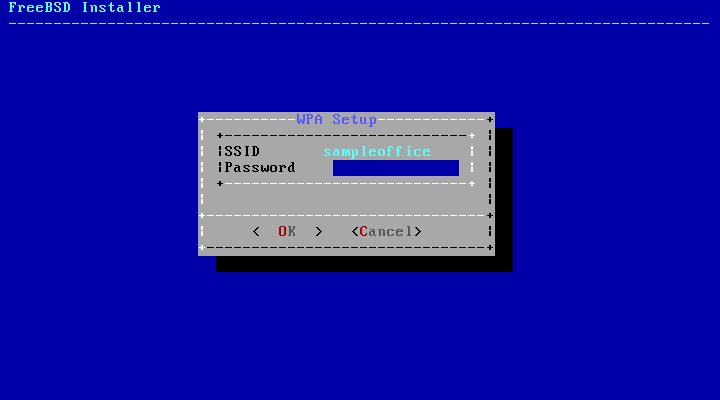
Next, enter the encryption information for connecting to the selected wireless network. WPA2 encryption is strongly recommended as older encryption types, like WEP, offer little security. If the network uses WPA2, input the password, also known as the Pre-Shared Key (PSK). For security reasons, the characters typed into the input box are displayed as asterisks.
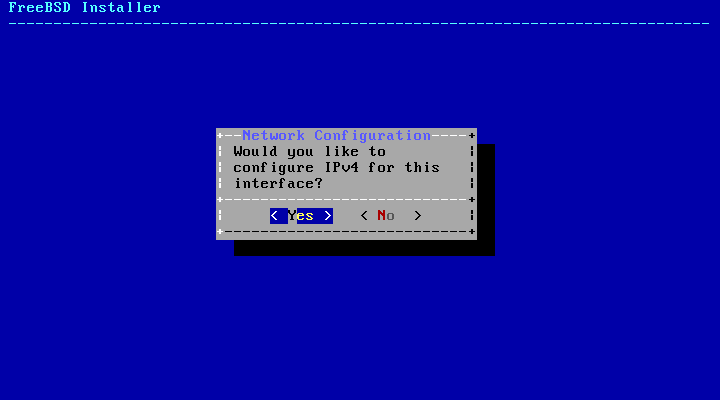
Next, choose whether or not an IPv4 address should be configured on the Ethernet or wireless interface:
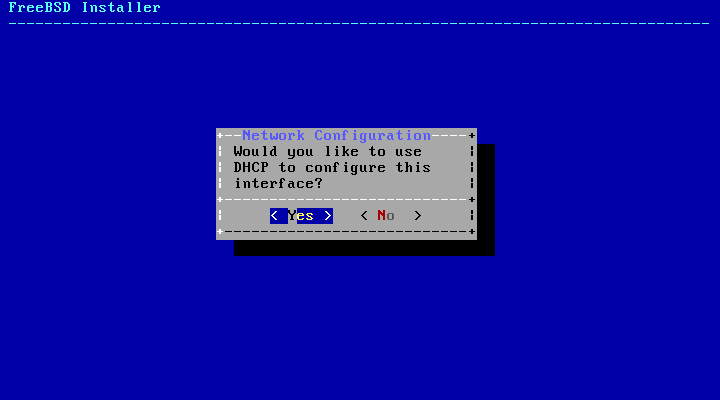
There are two methods of IPv4 configuration. DHCP will automatically configure the network interface correctly and should be used if the network provides a DHCP server. Otherwise, the addressing information needs to be input manually as a static configuration.
Note:
Do not enter random network information as it will not work. If a DHCP server is not available, obtain the information listed in Required Network Information from the network administrator or Internet service provider.
If a DHCP server is available, select in the next menu to automatically configure the network interface. The installer will appear to pause for a minute or so as it finds the DHCP server and obtains the addressing information for the system.
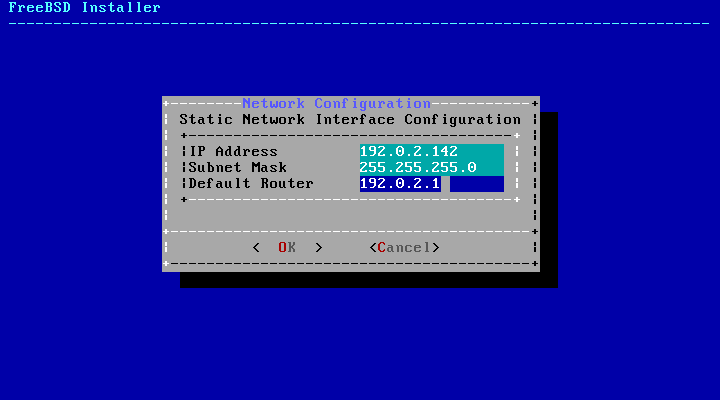
If a DHCP server is not available, select and input the following addressing information in this menu:
IP Address- The IPv4 address assigned to this computer. The address must be unique and not already in use by another piece of equipment on the local network.Subnet Mask- The subnet mask for the network.Default Router- The IP address of the network's default gateway.
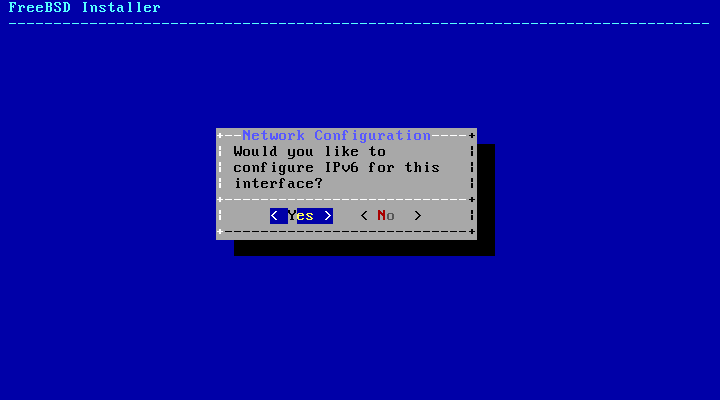
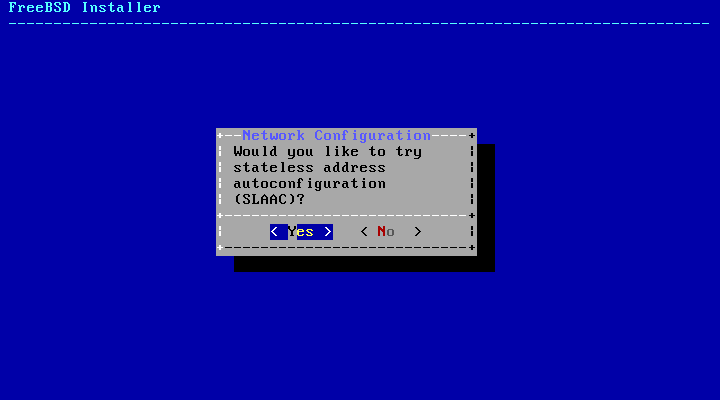
The next screen will ask if the interface should be configured for IPv6. If IPv6 is available and desired, choose to select it.
IPv6 also has two methods of configuration. StateLess Address AutoConfiguration (SLAAC) will automatically request the correct configuration information from a local router. Refer to rfc4862 for more information. Static configuration requires manual entry of network information.
If an IPv6 router is available, select in the next menu to automatically configure the network interface. The installer will appear to pause for a minute or so as it finds the router and obtains the addressing information for the system.
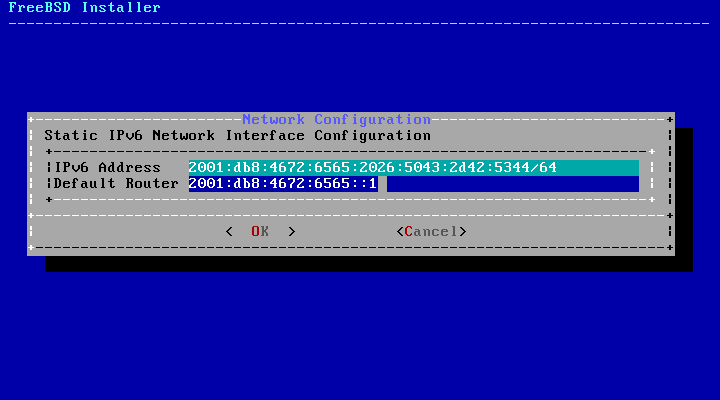
If an IPv6 router is not available, select and input the following addressing information in this menu:
IPv6 Address- The IPv6 address assigned to this computer. The address must be unique and not already in use by another piece of equipment on the local network.Default Router- The IPv6 address of the network's default gateway.
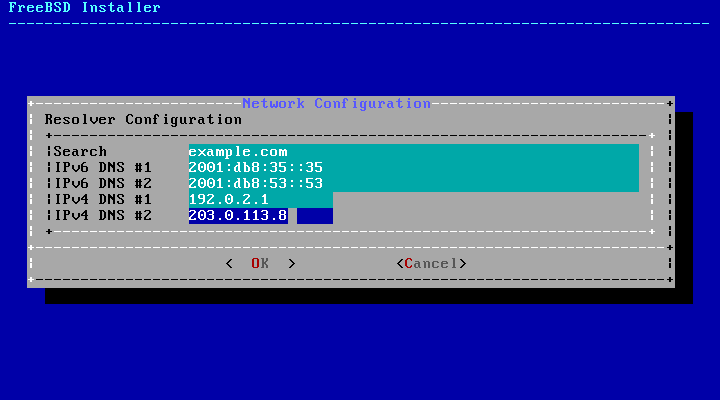
The last network configuration menu is used to configure
the Domain Name System (DNS) resolver,
which converts hostnames to and from network addresses. If
DHCP or SLAAC was used
to autoconfigure the network interface, the Resolver
Configuration values may already be filled in.
Otherwise, enter the local network's domain name in the
Search field. DNS #1
and DNS #2 are the IPv4
and/or IPv6 addresses of the
DNS servers. At least one
DNS server is required.
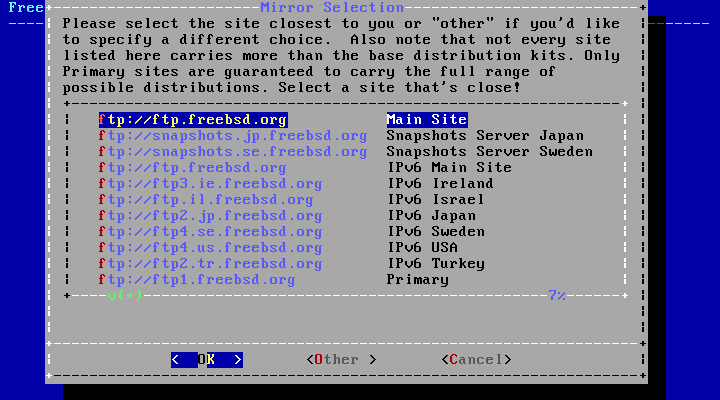
Once the interface is configured, select a mirror site that is located in the same region of the world as the computer on which FreeBSD is being installed. Files can be retrieved more quickly when the mirror is close to the target computer, reducing installation time.
